


Here at RealCraft, we use a lot of clear finish on our woods. What can we say--to us, there's nothing more beautiful than the wood's natural color, texture, and grain pattern. But sometimes we also stain the wood a different color. And we wanted to show you a step-by-step guide if you plan on staining a door yourself.
Why should you choose a stain for your door?
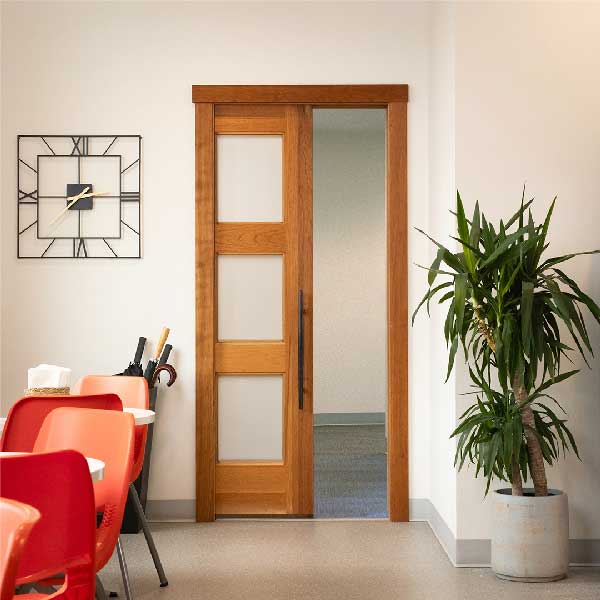
Stains—as opposed to clear finishes--can help you match a door to your furniture (although there’s no way to match them exactly). They also add deeper color to many wood species. In this blog, we’re using the example of mahogany-colored stain on sapele mahogany. It will give the sapele mahogany a more vibrant red-brown color than clear finish alone.
Why do we use Osmo door stain?
We like Osmo’s stain products because they maintain the wood’s natural texture, which you can’t get with urethane based finishes. And it’s easier to maintain the stain if you notice some spots getting a little bald. You don’t have to re-sand the door as you do with urethane based stains. You’ll just need to apply more stain to the area and remove excess with a microfiber cloth.
When you order an unfinished door from us, it’s already been sanded. So all you need to do is apply the stain itself. We’re showing you how to apply an Osmo stain; if you’re using a urethane based stain or varnish, the process could be slightly different. Follow the manufacturer's instructions on the label.
What are the steps to staining a door?
- Choose a stain color
- Apply the stain
- Remove excess
- Air dry and repeat if desired
What materials will you need to stain a wood door?

You'll need:
- the stain
- stain tray
- roller
- brush
- microfiber cloths
- nitrile gloves
- bucket for storing used microfiber cloths
- sawhorses or tarp
We also recommend using nitrile gloves--they keep your hands from getting stained.
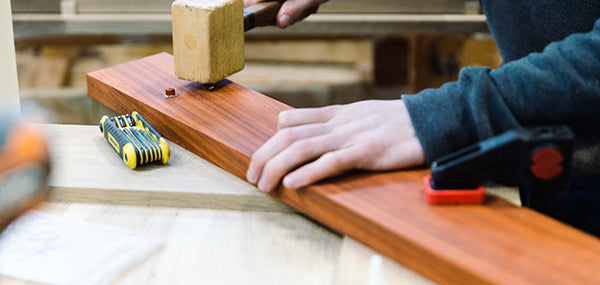
The best way to apply a stain is to place the door on top of two sawhorses, but you can also put it on the ground outside with a tarp underneath. It’s important to do this process in a well-ventilated area.
1. Choose a stain color
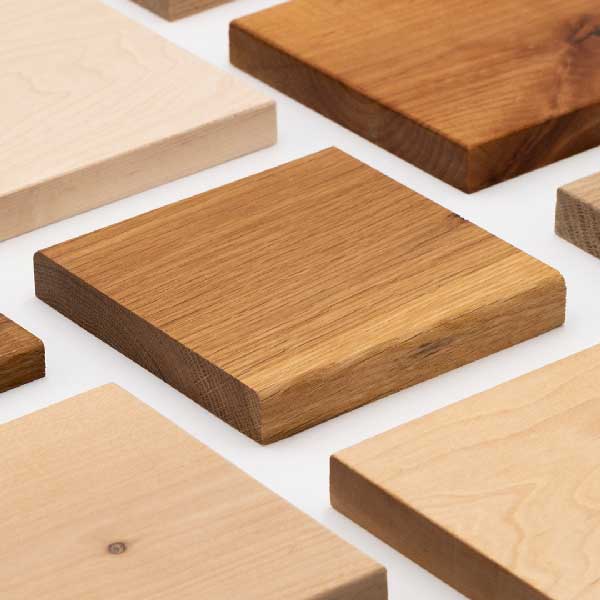
When choosing a door stain, consider the color scheme of the space where the door is going, as well as the wood species of the door itself. Some species don't absorb stains as well as others, so you may not get the same payoff. Bear in mind that it's impossible to match a door stain exactly with furniture or trim. For instance, if you have cherry wood furniture, and you try to stain a white oak door to match, it will be close, but not identical. Some wood species also change color over time, getting darker or lighter with exposure to sunlight. If you can't live with a slightly different stain color, we suggest choosing a complementary stain shade with the same undertone.
2. Applying the door stain
Before you apply, clear away any abrasive sawdust. We recommend using the hose attachment on a vacuum cleaner.
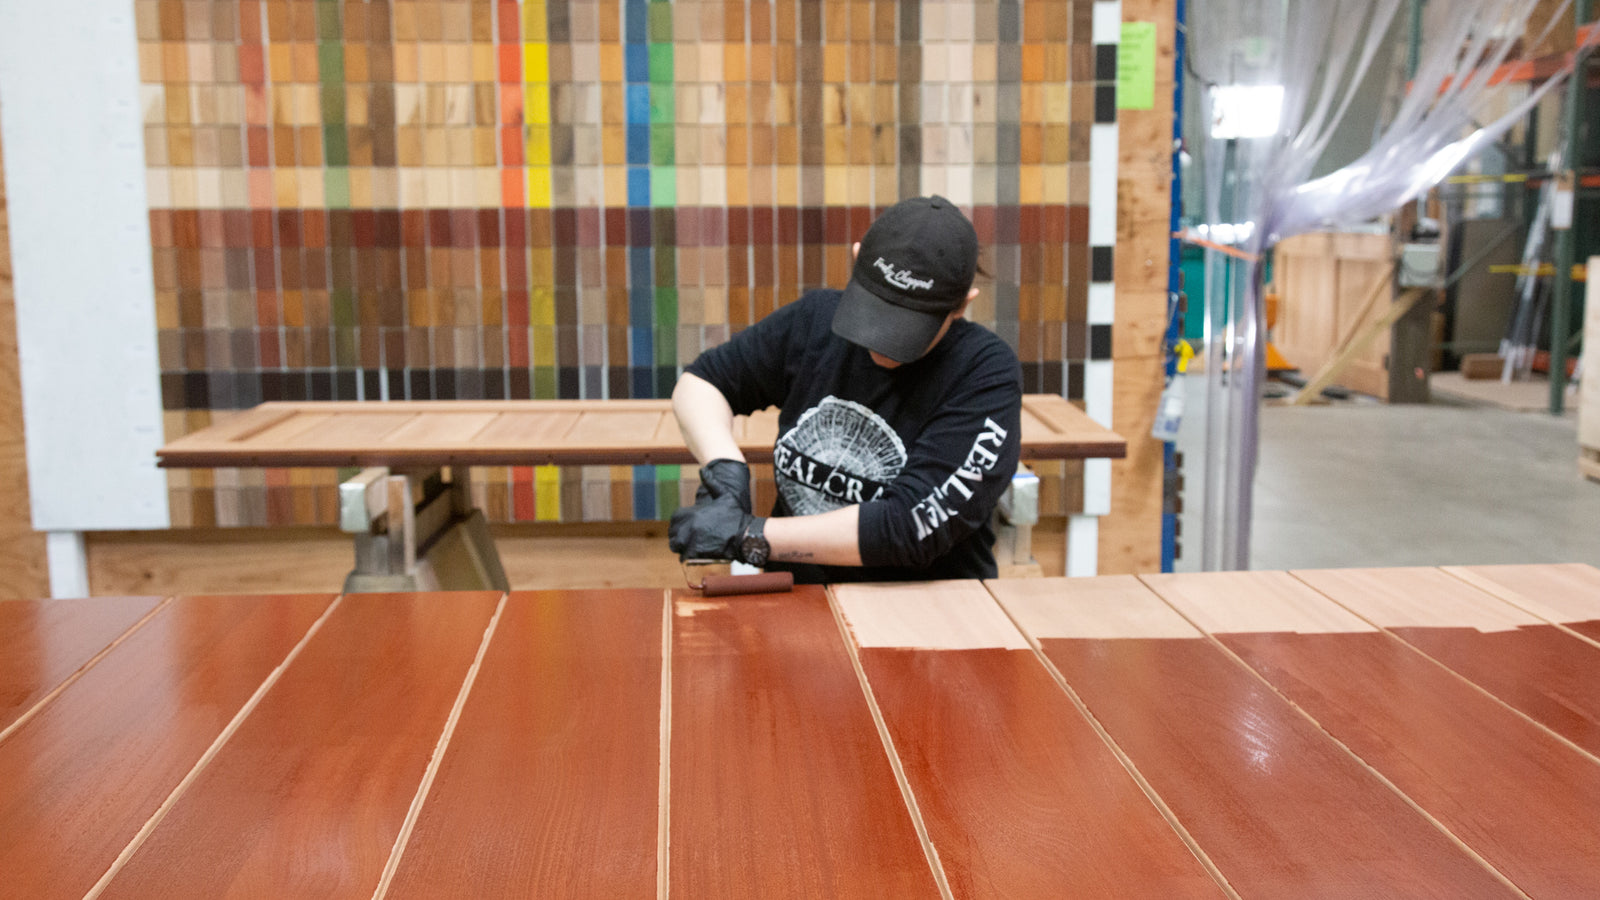
Apply a coat of stain with the roller. You want to have an even coating. Once you're done with your roller, use a paint brush to get into nooks and crannies.


3. Remove excess door stain
Once you’ve applied an even layer of stain over the one side of the door, the next step is to remove the excess. This removes drips and streaks and provides a more even-looking finish. For Osmo stain, you should only let it set for five to ten minutes before removing the excess. If you wait too long, the stain will become sticky and difficult to remove. Take a dry microfiber cloth and rub off the excess. Be sure to remove the stain from any nooks and crannies, too!
Note: you may think you’ve got it all after just one cloth, but our expert finisher Sam says you’ll probably need to remove more stain than you think. She uses at least three microfiber cloths for each side of a standard 36”x80” door, and sometimes more.


See-this was the third cloth Sam used, and there was still a lot of excess!
Important: As you go through microfiber cloths, place them in a plastic bucket with water. This might seem annoying, but it’s not optional. These rags are highly flammable and combustible. So you need to dispose of them safely.
4. Air Dry Your Stained Door

Let the door air dry for 24 hours before turning it over and applying stain to the other side. If you want a more intense payoff, you can do two coats on each side. But make sure that each coat dries thoroughly before applying more stain.
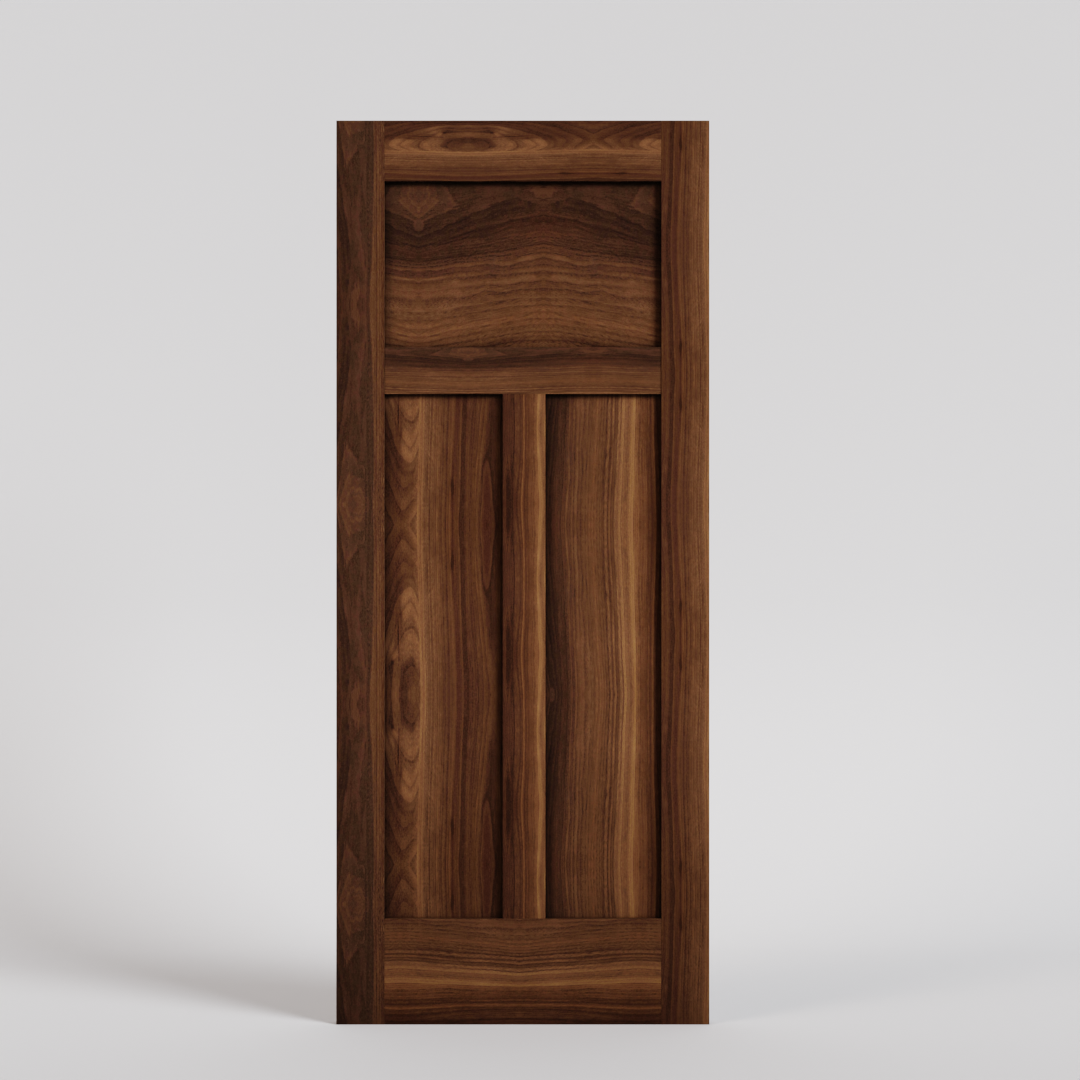
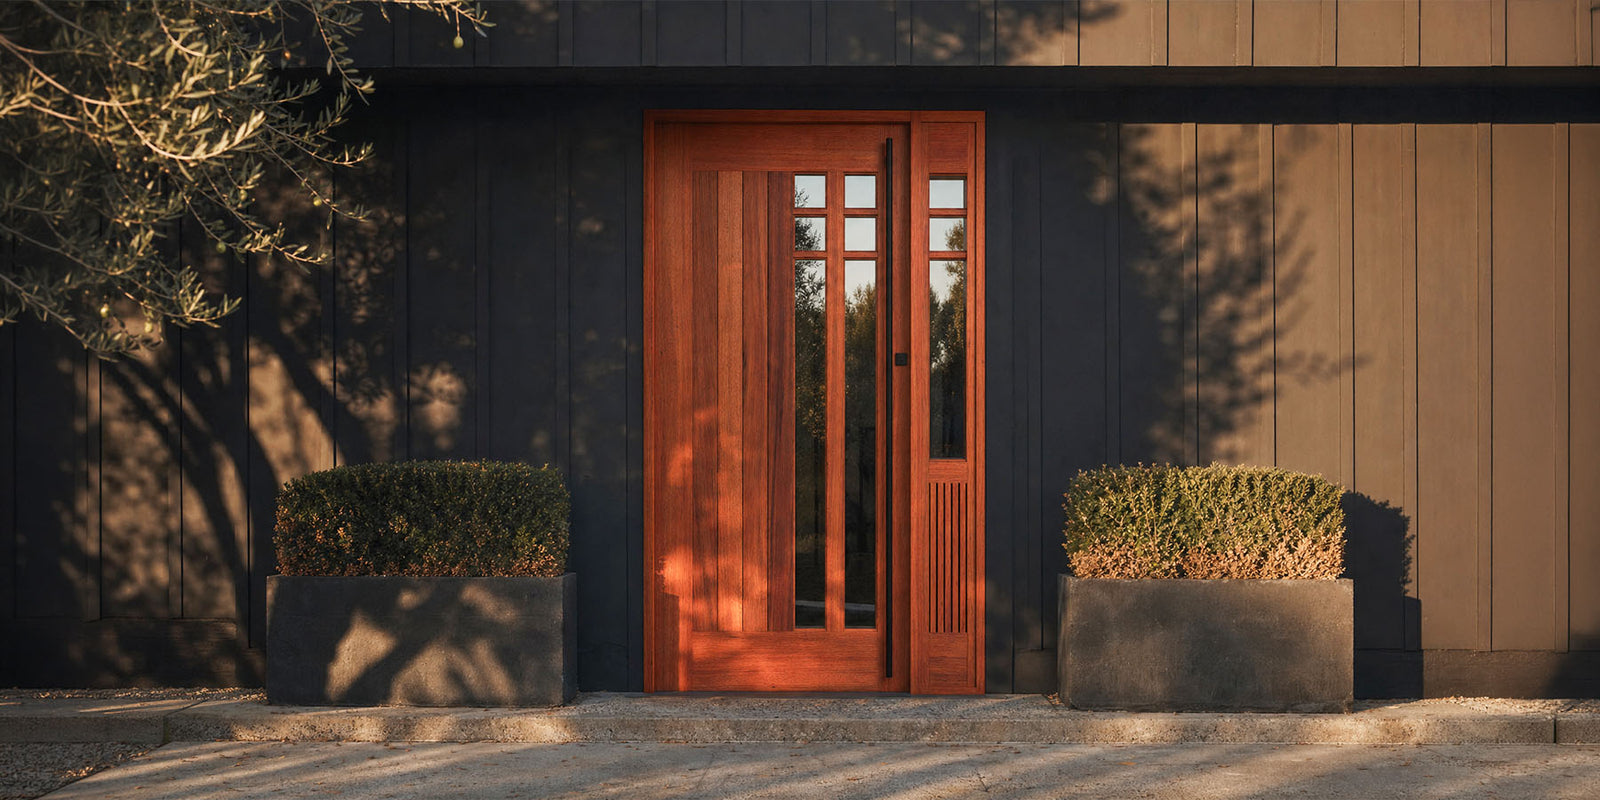
Here's how the stained sapele mahogany door came out after two coats of stain. As you can see it is richly colored with the reddish-brown tones mahogany wood is known for:

That's our basic guide to staining a door. We hope you find it useful, and remember: once you receive an unfinished door, apply a stain or other finish to it as soon as possible (within five days) to preserve the wood!


Leave a comment (all fields required)